Strawberry pie isn’t just a dessert—it’s a memory. Whether it’s a summer picnic, a family dinner, or just a quiet afternoon treat, old fashioned strawberry pie brings a taste of home to every bite. In this article, we’ll walk you through everything you need to know about this classic dish. From choosing the right strawberries to baking the perfect crust, you’ll get step-by-step guidance to make your own delicious pie at home.
“This pie is unbelievably good and shockingly easy! It brought me praise at a Sunday lunch even though I was busy and didn’t do anything fancy.”
— Chef Cindy B., Recipe Contributor on Allrecipes
In addition to that, we’ll also dive into baking tips, common mistakes to avoid, and ways to make your pie stand out. Whether you’re a beginner or an experienced baker, this guide will help you make a pie that looks beautiful and tastes even better.
What Is an Old Fashioned Strawberry Pie?
What makes it “old fashioned”?
An old fashioned strawberry pie is just like grandma used to make—simple, hearty, and packed with flavor. What sets it apart from more modern strawberry desserts is its double crust (top and bottom), and the fact that it’s baked with fresh berries instead of using a gelatin mix or no-bake method.
“This is not the kind of pie that looks like jelly in a crust. It’s rustic. It’s juicy. It tastes like summer.” — Home baker review
You won’t find any shortcuts or instant fillings here. Instead, the pie is usually made with everyday kitchen ingredients, like sugar, flour, cinnamon, and butter, along with fresh strawberries.
It’s a pie that relies on honest ingredients and a whole lotta love. Therefore, it’s not just food—it’s comfort.
How this pie stands out from modern strawberry pies
Modern recipes often skip baking or use a pre-made glaze to save time. However, in doing so, they lose the charm and depth of flavor that a baked pie offers.
Here’s why this traditional version is worth the effort:
- Real fruit texture – You’ll actually taste the berries, not just sugar or jelly.
- Flaky, golden crust – A well-baked crust adds that warm, buttery crunch with every bite.
- Naturally sweet – You control the sugar based on how sweet your strawberries are.
Thus, this pie doesn’t just look homemade—it feels it. And that’s exactly what makes it special.
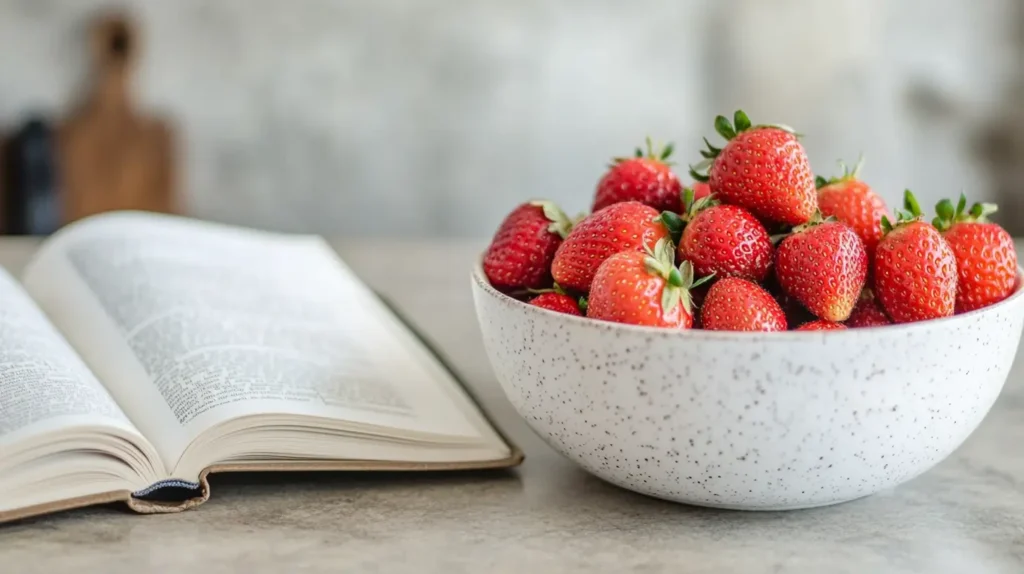
🍓 Ingredients Overview (Per 9-inch Pie)
| Ingredient | Quantity |
|---|---|
| Fresh Strawberries | 4 cups |
| White Sugar | 1¼ cups |
| All-purpose Flour | ⅓ cup |
| Ground Cinnamon | ½ teaspoon |
| Butter (cut into pieces) | 2 tablespoons |
| Unbaked Pie Crusts | 2 (9-inch) |
🔍 Nutrition Facts (Per Slice, 1 of 8)
| Nutrient | Amount |
|---|---|
| Calories | 412 |
| Total Fat | 17g |
| Saturated Fat | 4g |
| Carbohydrates | 63g |
| Sugars | 35g |
| Protein | 3g |
| Fiber | 2g |
| Vitamin C | 45mg (50% DV) |
| Iron | 1mg (4% DV) |
| Sodium | 301mg (13% DV) |
Next, we’ll dive into the star players: the ingredients that make this pie truly special—and how each one contributes to the flavor and texture. 🍓🥧
Ingredients That Make a Classic Strawberry Pie
Essential ingredients for the perfect filling
Let’s be real—a pie is only as good as what goes in it. That’s why choosing fresh, quality ingredients makes all the difference in an old fashioned strawberry pie. Fortunately, you don’t need anything fancy.
Your shopping list is short but mighty:
- Fresh strawberries – These are the stars. Make sure they’re ripe, sweet, and deep red. Otherwise, the pie will taste too tart.
- White sugar – Helps balance tartness and brings out the natural juice in the berries.
- Flour or cornstarch – Acts as a thickener so your pie isn’t runny. However, cornstarch gives a clearer finish.
- Cinnamon – Just a pinch adds a warm depth of flavor.
- Butter – Dotted over the filling, it melts into everything for richness.
“I always say taste your strawberries first. If they’re sweet, you’ll need less sugar. If they’re tart, add a bit more. Trust your taste buds.”
— Chef Lina G., Home Baking Instructor
On the other hand, one overlooked ingredient is patience. Letting your strawberries sit with sugar for a few minutes can help release juices and deepen the flavor.
The role of crust: homemade vs. store-bought
Now let’s talk crust—the part that holds it all together. A flaky, golden crust is like the pie’s handshake. It’s the first thing you notice when you take a bite.
You’ve got two main options:
- Homemade pie crust – If you’ve got a bit more time, making your crust from scratch can be super rewarding. All you need is flour, butter, salt, and cold water.
- Store-bought crust – This saves time and still tastes good, especially if baked just right. Therefore, it’s a great choice for beginners or busy bakers.
Moreover, chilling your crust before baking makes it extra flaky.
Some bakers like using a lattice top to let the filling peek through. Others prefer a solid crust with vents. Either way, your crust matters. It’s not just a container—it’s part of the flavor experience.
How to Make Old Fashioned Strawberry Pie Step by Step
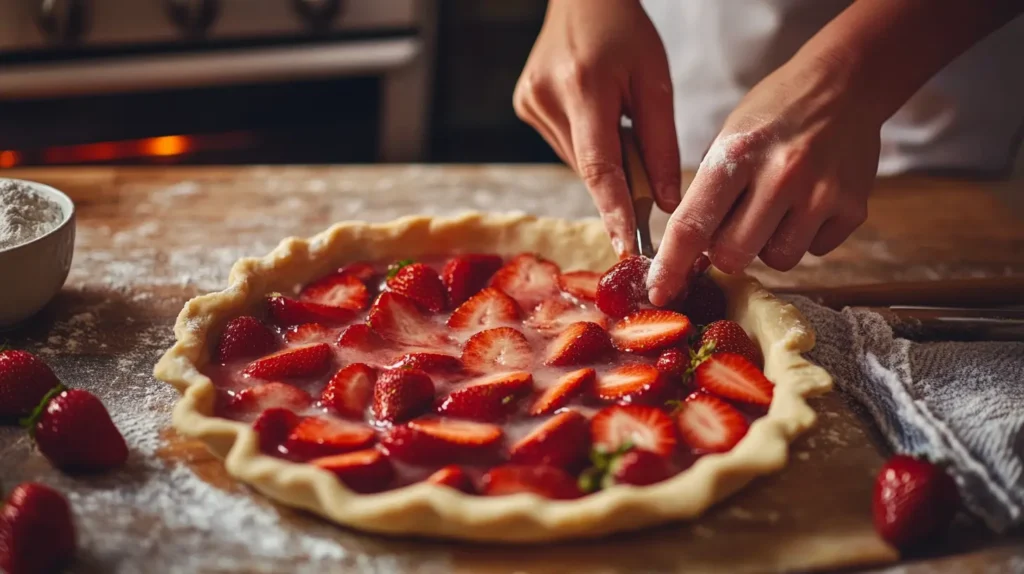
Preparing your strawberries the right way
First things first, wash your strawberries gently and pat them dry. Then hull them by removing the green tops. You can slice or halve them depending on size.
In addition, toss them with sugar and cinnamon in a bowl. Let them sit for 10–15 minutes. This step is key—it draws out the juice and helps soften the berries.
“I like to add a spoonful of lemon juice at this stage for a hint of brightness.”
— Jess T., Seasonal Baker
Mixing and thickening the filling
After your strawberries release some juice, mix in the flour (or cornstarch). Stir gently so you don’t crush the berries.
Pro tip: “Don’t overmix. Just coat the berries and let the thickener do its magic while baking.”
If using cornstarch, dissolve it in a little cold water before mixing. This avoids clumps. Meanwhile, preheat your oven to 425°F (220°C) to get things ready.
Assembling the pie: bottom crust, filling, and top crust
Roll out your bottom crust and place it in a 9-inch pie pan. Add the strawberry filling and dot the top with small butter pieces. Next, lay your top crust over the pie—either in full or as a lattice. Pinch the edges to seal.
Don’t forget to cut a few slits in the top crust if it’s solid. This is important because it lets steam escape and prevents sogginess.
Want a shiny, golden crust? Then, brush it with milk or egg wash and sprinkle some sugar on top!
Tips for a golden, flaky pie crust
Here are a few simple tricks that’ll level up your crust game:
- Chill everything – Cold butter and dough = flakier crust.
- Don’t overwork the dough – It should be just mixed.
- Use a glass or metal pan – These bake more evenly than ceramic.
Also, for a fun dessert pairing idea, check out this Strawberry Dream Dessert that’s light, creamy, and berry-filled—great for summer parties!
Baking Tips for Perfect Results Every Time
Best oven temperature and time settings
When it’s time to bake your old fashioned strawberry pie, setting the right oven temperature is super important. Typically, you’ll want to preheat your oven to 425°F (220°C).
Start baking at this high temperature for about 20–25 minutes. Then, reduce the heat to 350°F (175°C) and continue baking for another 15–20 minutes.
Why the two-step baking?
“The higher heat crisps the bottom crust. Lowering the temp lets the filling cook through without burning the top.”
In addition, you should watch for bubbling juice through the crust slits and a golden-brown color—this means it’s done.
Avoiding a soggy bottom or runny filling
Let’s be honest—nobody wants a soggy-bottomed pie. Fortunately, there are a few simple ways to keep your crust crisp and your filling firm.
Here’s what you can do:
- Drain some of the juice – After mixing strawberries with sugar, let them sit, then drain off excess juice before baking.
- Use enough thickener – If you’re worried about runny filling, add 1–2 tablespoons of cornstarch or tapioca.
- Pre-bake the bottom crust slightly – This step, also known as blind baking, helps seal the base. However, don’t overdo it or the crust will get too hard.
“I always let the pie cool for at least two hours before slicing. That way, the filling sets up nicely.”
— Maria S., Pie Contest Judge
In short, patience is your best friend. Cutting too soon is the #1 cause of messy slices.
Customizing Your Old Fashioned Strawberry Pie
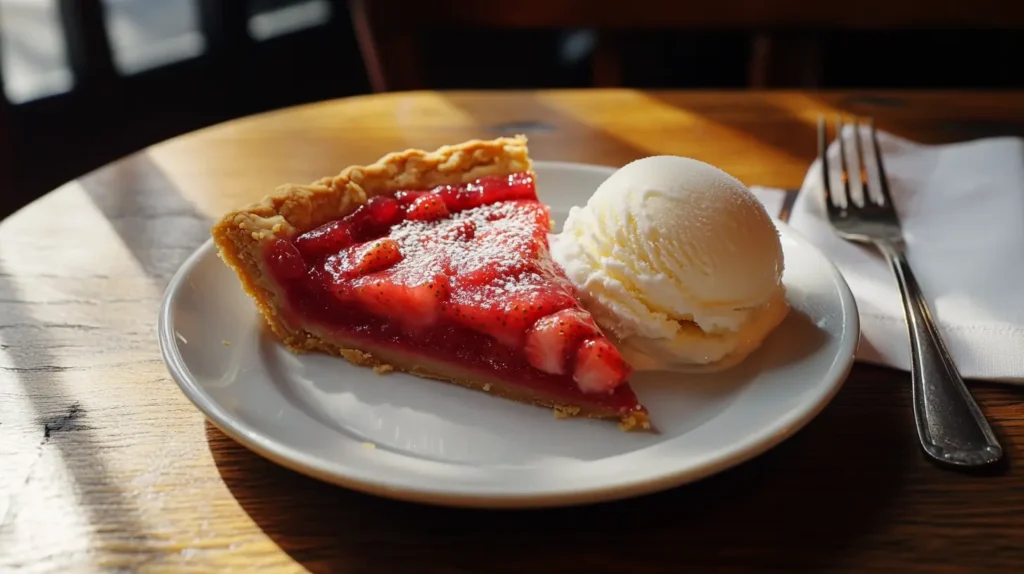
Adding extras: cream cheese, lemon zest, or rhubarb
Once you’ve mastered the basics, you can start having fun with flavor twists! Old fashioned strawberry pie is super flexible.
Here are a few tasty add-ins:
- Cream cheese layer – Spread softened cream cheese on the bottom crust before adding berries. This not only adds richness, but also keeps the crust from getting soggy.
- Lemon zest or juice – Just a teaspoon adds brightness and makes the berries pop.
- Rhubarb – For a tart twist, mix in 1–2 cups of chopped rhubarb with your strawberries.
**“I love using half strawberries, half rhubarb. The balance of sweet and tart is amazing!”
Moreover, these variations can help you use what’s in season or tailor the pie to your family’s taste.
Topping variations: full crust, lattice, or crumble
Your pie top is like your pie’s personality. Depending on your mood or skill level, you can get creative:
- Full crust with slits – A classic look that seals in juice and heat.
- Lattice top – Looks beautiful and lets some moisture escape. Additionally, it helps the filling thicken nicely.
- Crumble topping – For a more rustic feel, skip the top crust and use a buttery oat crumble instead.
No matter what topping you choose, don’t forget the finishing touch—a brush of milk or egg and a sprinkle of sugar for that golden glow.
If you’re in love with fruity desserts, you might enjoy our creamy Strawberry Dream Dessert too!
Want more ideas for your baking days?
For more delicious recipes, check out our other articles on Collective Recipes—you’ll find everything from fruit-filled cakes to easy cookie bars, perfect for your sweet tooth!
Storing and Serving Your Strawberry Pie
Best way to cool and store the pie
After baking your old fashioned strawberry pie, it’s tempting to dig in right away. However, letting it cool is super important. Set the pie on a wire rack and allow it to cool for at least 2–3 hours. This helps the filling firm up and makes slicing cleaner and easier.
Once cooled, cover the pie loosely with foil or plastic wrap. You can keep it at room temperature for up to two days. If you want to keep it longer, place it in the fridge, where it’ll stay fresh for about 4–5 days.
TIP: Don’t store it while still warm—this traps steam and makes the crust soggy!
In addition, you can freeze leftover slices. Just wrap each one tightly in plastic wrap and store in a zip-top freezer bag. That way, you’ll always have a sweet treat ready to go!
How long it lasts in the fridge or freezer
In the refrigerator, your pie will last about four to five days, though the crust may soften slightly. If frozen properly, it can keep well for up to three months. To reheat, place a slice in the oven at 300°F for 10 minutes. This makes the crust crisp up again without overcooking the filling.
On the other hand, avoid microwaving unless you’re in a real rush—it can make the crust rubbery.
Serving tips: whipped cream or vanilla ice cream?
Now for the fun part—serving! This pie is delicious on its own, but toppings make it extra special.
Here are some tasty pairings:
- Whipped cream – Light and fluffy, it pairs beautifully with sweet berries.
- Vanilla ice cream – Cold and creamy, it’s perfect for warm pie slices.
- Powdered sugar – A simple sprinkle adds a pretty finish.
In short, serve your strawberry pie warm, cold, or room temp—whatever you like best. It’s a treat any way you slice it!
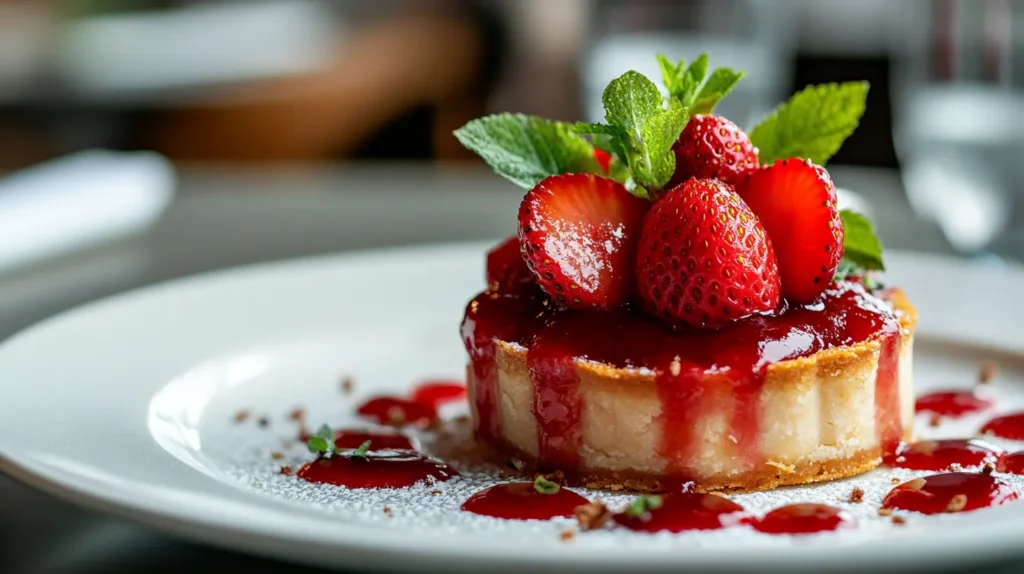
Old Fashioned Strawberry Pie for Special Occasions
Perfect for holidays, picnics, and family gatherings
There’s something about old fashioned strawberry pie that makes it feel like a celebration. Maybe it’s the bright red berries, the flaky golden crust, or the sweet smell that fills the kitchen.
This pie shines at events like:
- Mother’s Day
- Fourth of July picnics
- Easter brunch
- Family reunions
Because it uses simple ingredients, it’s easy to whip up for just about any gathering. Plus, it looks beautiful on a dessert table!
Making mini pies or tartlets for events
Want a fun twist? Try turning your old fashioned strawberry pie into mini versions. These make perfect party snacks and are easier to serve.
You can:
- Use a muffin tin to create small individual pies.
- Cut dough into circles and press into mini tart pans.
- Top with a mini lattice or crumble topping for cuteness.
Additionally, kids love having their own pie! Mini versions also bake faster—around 15–20 minutes—so they’re a time-saver.
“I made mini pies for a school bake sale and they sold out in 15 minutes. People loved the personal touch!” — Alyssa M., Busy Mom Baker
Troubleshooting Common Pie Problems
Why is my filling runny?
One of the biggest complaints when baking a fruit pie is that the filling ends up too watery. However, this is an easy fix once you know what to watch out for.
Here are a few tips:
- Use enough thickener – Make sure you’re adding at least 1/3 cup of flour or a few tablespoons of cornstarch.
- Let the berries sit – Before baking, allow the strawberries to rest with sugar so they release their juice. Then, drain some of that extra liquid.
- Bake long enough – Sometimes, the pie looks done but needs more time. The filling has to bubble for at least 10 minutes to thicken properly.
Therefore, if your old fashioned strawberry pie turned into soup, don’t worry—it happens to everyone at least once!
How to fix underbaked or overbaked crust
Another common issue is crust troubles. Sometimes, it’s too pale. Other times, it’s too dark.
Here’s what you can do:
- Underbaked? Bake longer at a lower temperature. Try covering the top with foil so it doesn’t brown too fast.
- Overbaked? Next time, check your oven’s temperature with a thermometer. Also, try moving your pie to a lower oven rack.
In addition, brushing the crust with milk or egg before baking gives it that perfect golden color.
What to do if the pie doesn’t slice neatly
A perfect slice is the dream! However, if your pie falls apart when you cut it, don’t panic.
Here’s how to fix it next time:
- Let it cool longer – A hot pie will always be messy. Let it sit for at least 2 hours.
- Use a sharp knife – And clean it between each cut.
- Chill it slightly – If you plan to serve neat slices, refrigerate for 30 minutes before cutting.
Ultimately, the flavor is what matters most—even if the slices are a little messy.
Frequently Asked Questions (FAQs)
Can I use frozen strawberries in strawberry pie?
Yes, you can! However, frozen strawberries release more water than fresh ones. So, add extra thickener and drain as much liquid as possible before adding to the pie.
What is the best thickener for strawberry pie?
The best options are cornstarch, flour, or tapioca. Each one works a bit differently:
- Cornstarch gives a clear, smooth filling.
- Flour makes a thicker, more traditional texture.
- Tapioca works well if you like a firm set.
In any case, just make sure to use enough!
How do you keep strawberry pie from being runny?
There are three key tips:
- Use a proper thickener
- Let the pie bake long enough
- Cool it fully before slicing
Additionally, always preheat your oven so the crust cooks evenly from the start.
Why is my strawberry pie watery after baking?
This often happens when the pie wasn’t baked long enough or the fruit had too much liquid. Thus, it’s helpful to cook the berries slightly before baking or to mix the filling and let it sit—then pour off the extra juice.
Conclusion: A Pie to Make Again and Again
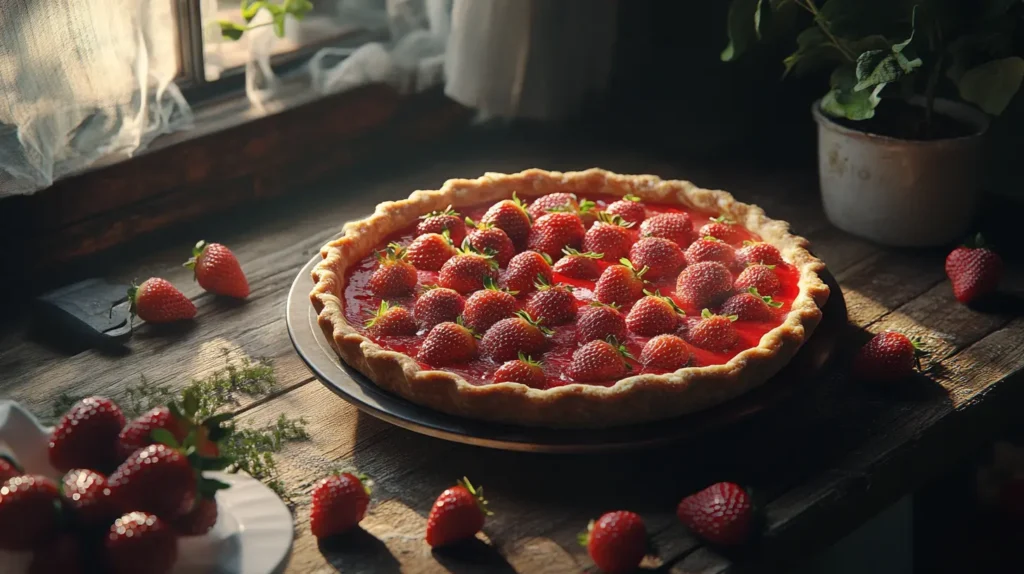
There’s a reason old fashioned strawberry pie never goes out of style. It’s simple, sweet, and made with love. Whether you’re baking it for a birthday, a summer picnic, or just because, it brings people together.
“This is the kind of pie that gets talked about long after the plates are clean.”
With easy ingredients, basic steps, and lots of room to customize, old fashioned strawberry pie is perfect for beginner bakers and pros alike. So, grab those fresh strawberries and start baking your own slice of tradition today.
